 |
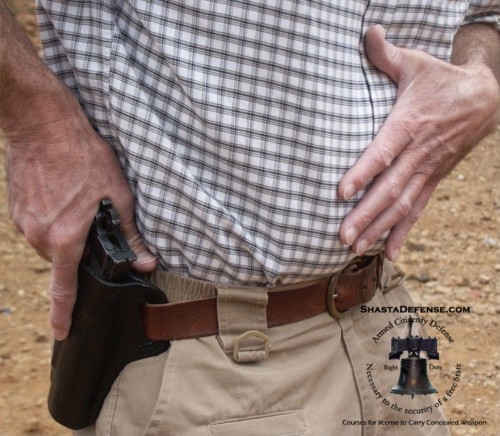
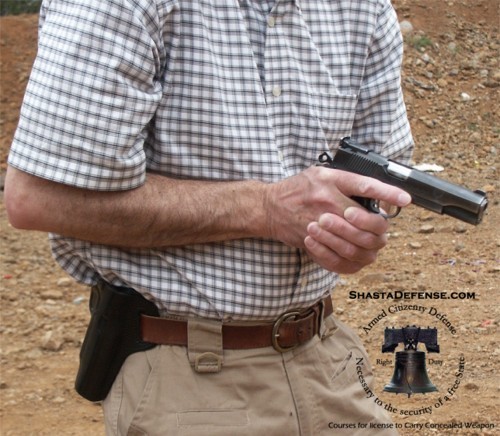
STEP 1: |
| Obtain full firing grip on gun. High hand
grip. |
| 1911 Safety is still ON (i.e., 1911
is "locked"). |
| Trigger finger is straight and indexed on the
outside of the holster. |
| Support hand is indexed flat on abdomen. |
|
 |
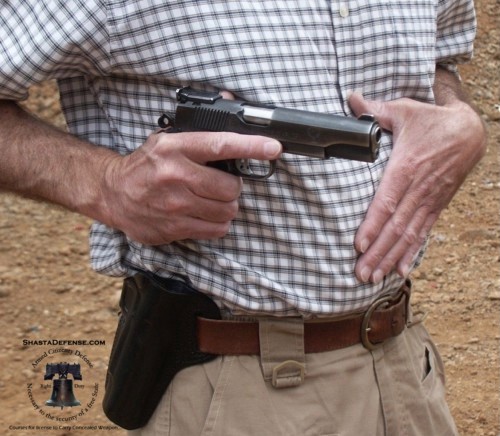
STEP 2:
|
| Lift gun straight up until it just clears the
top of the holster. |
| 1911 Safety is still ON (i.e., 1911 is
"locked").
Trigger finger is still straight and is indexed on the frame of the
gun. |
| Support hand is still indexed flat on abdomen. |
|
|
 |
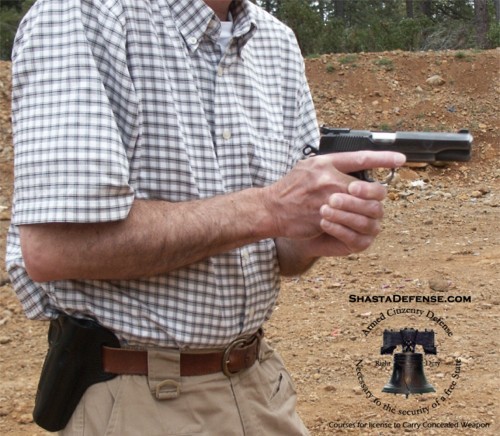
STEP 3: |
| Gun hand elbow is lowered (drops) to orient
the gun muzzle directly towards the target. |
| 1911 Safety is still ON (i.e., 1911 is
"locked"). |
| Trigger finger is still straight and is
indexed on the frame of the gun. |
| Support hand is still indexed flat on abdomen. |
|
 |
STEP 4: |
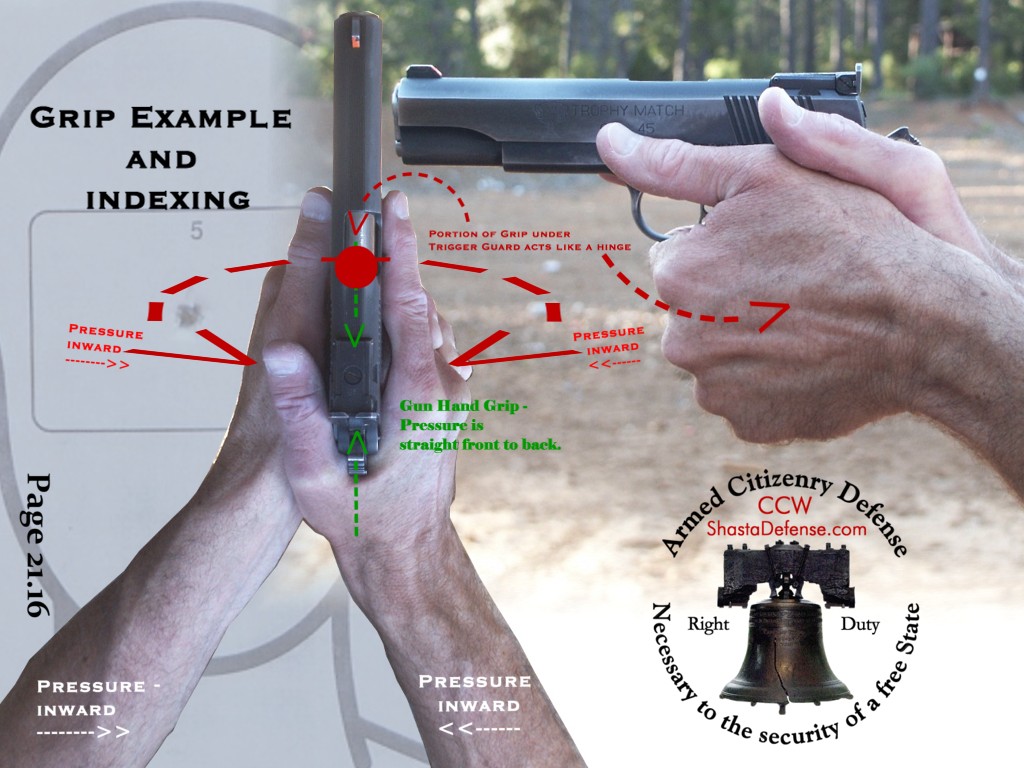
| The gun hand and the support hand meet
together and form proper grip. This may be approximately at the center
of your body so when gun is driven forward, the dominant eye, sights and
target naturally are in line. You will have to find your index point. |
| The gun is driven towards the target. Note:
The gun's muzzle does not cover or sweep any part of your body during the drawing
or holstering process. |
| 1911 Safety is now turned OFF (disengaged)
once both hands come together. |
| Trigger finger is still straight and is
indexed on the frame of the gun. |
| Both hands drive the gun straight out towards
the target. |
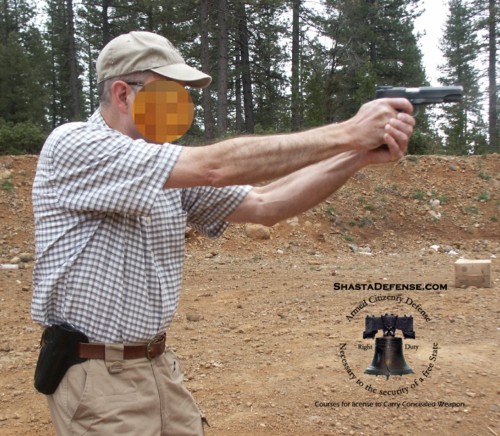 |
STEP 5: |
| Gun is at eye level. |
| DO NOT place your finger on the Trigger until
you have decided to actually fire the gun at that exact moment, then
PRESS the trigger and focus on front sight. |
| When you have decided to stop firing, your
trigger finger must immediately be taken off the trigger, and indexed on
the frame of the gun. |
|
|
 |
STEP 6: |
| Gun is brought back to a high compressed
retention ready position. |
| Trigger finger is still OFF trigger and
indexed on the frame of the gun. |
| Scan and assess (turn head left and right) -
situational awareness for threats and other good guys to avoid mistaken
identity shooting, break tunnel vision, etc... . |
| Safety is now turned back on to
"safe" (i.e., 1911 is "locked"). If your gun has a
decock, you would do such procedure at this stage (making sure your gun
is pointed in a safe direction.). |
|
 |
STEP 7:
Support hand is indexed flat on abdomen.
Trigger finger is still OFF trigger |
| Trigger finger is indexed on frame of gun,
and as gun is holstered, trigger finger will become indexed on
outside of holster. Do not allow trigger finger to enter holster. |
| Maintain full firing grip as you holster. Use
one-handed holstering. Trigger finger is OFF trigger. |
| Thumb is over hammer as you holster. |
| WARNING: BE CERTAIN HOLSTER IS CLEAR OF ANY
OBSTRUCTIONS BEFORE HOLSTERING (e.g., loose shirt, jacket, etc...). |
|
